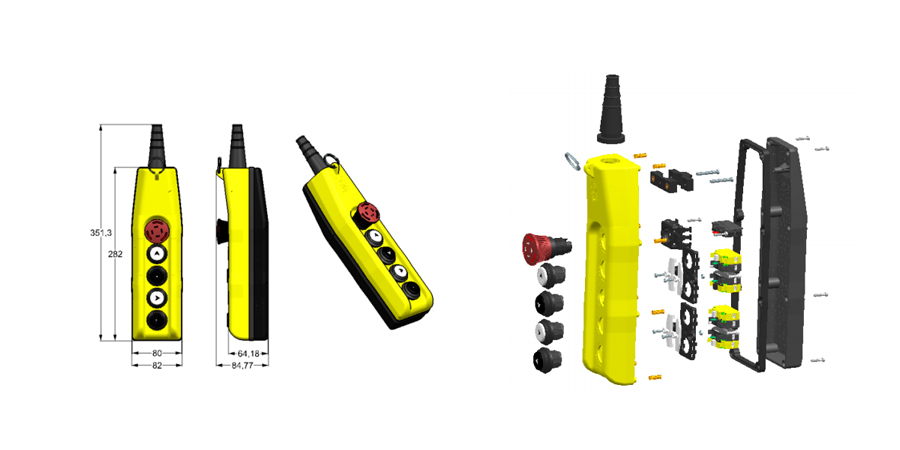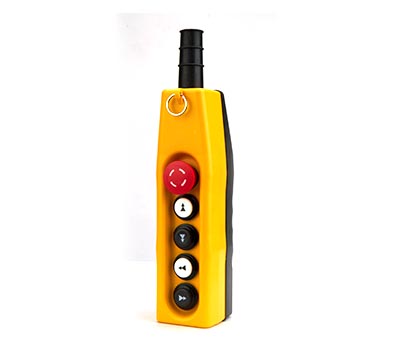

FEATURES

Electrical Specification:
| Sr.No | Parameters | Specification | |||
|---|---|---|---|---|---|
| 1 | Rated Voltage | 250 VAC ; 24 V DC | |||
| 2 | Rated Current | 6-10 Amp | |||
| 3 | Rated Opertaion Current | AC (50 to 60Hz) | DC | ||
|
Ue V |
Ie/AC 15 (utilization category) |
Ue V |
Ie/DC 13(utilization category) | ||
| 250 | 6 | 24 | 1.5 | ||
| 4 | Insulation Resistance | 100MΩ above(at 500VDC) | |||
| 5 | Withstand Voltage /HV | Current-carrying and non-current-carrying metal parts, Between terminal and earthing : 1500VAC, 50/60HZ | |||
| 6 | Terminal Torque | 0.8 Nm (Minimum) | |||
| 7 | Life: | Electrical: 1000000 cycles ( 1 Million) (Push Button & Contacts)* | |||
| Mechanical : 1000000 cycles ( 1 million)* | |||||
| 8 | Connection | Screw type terminal | |||
Envorimental Conditions:
| 1 | Ambient Temperature | -10~+65°C |
| 2 | Humidity | 95% RH (65°C) |
| 3 | Operating Temperature | -20°C to 65°C |
| 4 | Storage Temperature | -30°C to 70 |
Material:
Base / Cover – Tough, Impact resistant & fire retardant Plastic.
Gasket – Rubber with excellent resistant for UV exposure, Ozone & Weathering.
Screws – Half threaded Self Tapping Screws (salt spray of 168-hour test) with ASTN standard
Approvals:
Degree of Protection: IP65 / IP20 for Elements / Contact Blocks (As per IEC 60529 Standards). RoHS compliant.
Installation:
- Unscrew and remove the black cover.
- Unscrew the NC and NO contact block/Elements.
- Insert the cable through hose and passes through cable clamp.
- Strip the cable length suitable for wiring the switches(crimp with suitable terminal ).
- Tape the striped part of cable.
- Make wiring and screwing the NO, NC Contact block with 0.8 Nm Torque.
- Tighten the cable clamp on the cable.
- Screwing the enclosure, by skilled operator, check rubber gasket placed neatly to guarantee protection against water and dust.


